Consumer Guides
How to Monitor and Measure Pond Water Quality
Oct
The importance of having healthy, balanced water in your Koi pond cannot be overstated. Poor water quality can stress fish, promote disease, and disrupt your pond’s ecosystem. Regularly monitoring and testing your water helps ensure that your water parameters stay within the ideal range, allowing you to address any changes quickly before they become problems.
Methods and Tools for Testing Water
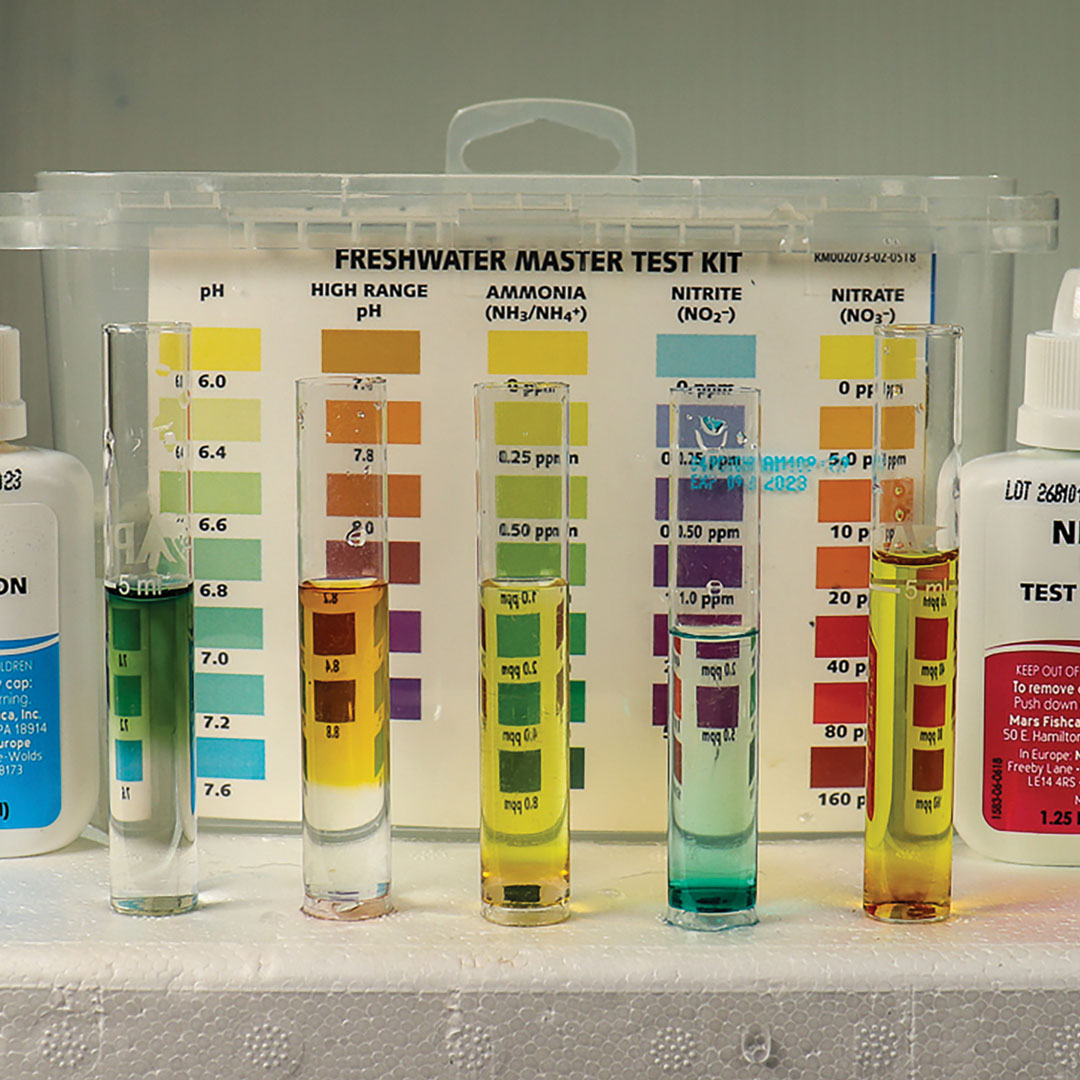
There are several ways to measure pond water quality. Liquid test kits tend to be the most popular among pond owners, as they are affordable and offer accurate results. Test strips provide quick, simple readings and are handy for spot checks, though they tend to be less precise. Digital meters and probes offer instant, accurate readings for parameters such as pH, temperature, and oxygen levels. Whatever methods you choose, keep tools clean, store them properly, and follow instructions to ensure reliable readings.
Test Water Parameters Regularly
Routine testing is the best way to catch issues early. Use a reliable pond water test kit to check pH, ammonia, nitrite, nitrate, Carbonate Hardness (KH), and General Hardness (GH). The chart below outlines ideal ranges.
| pH | 7.4–8.4. |
| Ammonia | 0ppm |
| Nitrite | Close to 0ppm |
| Nitrate | 20-60ppm |
| KH | 100-200ppm |
| GH | 100-250ppm |
How Often to Test Water
- New ponds (first 4–6 weeks): Daily or every other day, especially for ammonia and nitrite, until the nitrogen cycle is stable.
- Established ponds in warm months: At least once per week for all significant parameters.
- After heavy rain, equipment failure, or adding fish: Test immediately.
- Winter: Every 2–3 weeks, focusing on pH and KH.
- Signs of distress in fish: Test immediately.
Maintaining Good Water Quality
Keeping your pond water healthy is about consistency and prevention, not just reacting when issues arise. Here are some tips for maintaining good water quality:
- Use both mechanical (removes debris) and biological (beneficial bacteria) filtration. Clean filters regularly, but avoid over-cleaning bio-media.
- Perform 10-20% water changes once a week.
- Avoid overfeeding to prevent waste buildup.
- Provide plenty of shade and add plants to reduce algae growth. Be sure to remove any large blooms manually.
- Aim to always keep oxygen levels above 7ppm, especially during hotter months. Air pumps, air stones, waterfalls, and fountains can all be used to increase aeration.
Signs of Poor Water Quality
Some water quality problems may show visible signs. The chart below outlines common signs of poor water quality, what they mean, and how to fix them.
| Visible Sign | Potential Causes | How to Fix |
| Cloudy/murky water | Bacterial blooms, debris buildup, and poor filtration. | Perform a partial water change (10–20%), clean mechanical filters, and check circulation. |
| Green water | Algae blooms, which are typically due to higher levels of nitrate and phosphate, as well as increased sunlight. | Add shade, reduce feedings/avoid overfeeding, remove excess algae manually, and increase aeration. |
| Foam/excess bubbles | Excess dissolved organic compounds from waste and debris build up. | Skim the surface, reduce feedings/avoid overfeeding, Perform a partial water change. |
| Foul or rotten smell | Anaerobic bacteria growth, typically caused by a buildup of waste and poor water circulation. | Improve aeration and remove sludge. |
| Fish gasping at the surface | Low dissolved oxygen levels or high ammonia/nitrite levels. | Increase aeration, test water, and perform a partial change. |
| Fish flashing or rubbing | pH swings, toxin, or parasitic infestation. | Test water parameters, stabilize pH/KH, and investigate for parasites if water quality is stable. |
Download PDF